Last post Ubuntu Server Setup, I talked about the basic setup for an Ubuntu server. In this post, I will share some details about the setup for saltynote server.
Database
1. Create a new database, and a database user
Login database from terminal with mysql -u root -p, and execute follow command lines:
1 | CREATE DATABASE saltynote; |
Note: You can find more details about how to enable remote access from this post. While here, I only enable it with local access, as I for security reason, it is not required for current stage.
Spring Boot Service
The service is implemented with Spring Boot. So it can be run with a standalone jar file as a Systemd service. You can find more official information from this link.
Create a new user
For security, I will create a specific user to run the service. This post will be very helpful for this step.
1 | # Create a new user, and create its home dir |
Create Service Folder & Service Setup
1 | mkdir -p /home/saltynote/service |
Upload the jar file to /home/saltynote/service folder, and create application.properties inside that folder, which can be used to set some sensitive information. e.g. database connection info.
1 | # Make saltynote is the owner of service.jar |
Systemd Setup
Create note.service in /etc/systemd/system dir, and populate note.service as below:
1 | [Unit] |
We can enable this service to auto start when system restarts by:
1 | systemctl enable note.service |
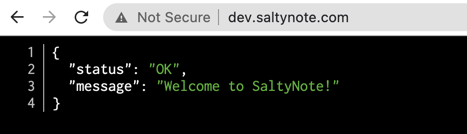
If everything goes well, the service should start now. Open http://YOUR-SERVER-IP:8888, you should see a welcome message in JSON format.
1 | # You can check that the service is running with saltynote user. |
NginX and HTTPS
Now, we can connect NginX with our service, which means we want http://dev.saltynote.com displays the same content
as http://dev.saltynote.com:8888 instead of showing NginX welcome page.
1. Add Upstream
Open /etc/nginx/nginx.conf, and add a new upstream inside http section. (I named it as service, while it can be
any name you want.)
1 | http { |
2. Connect it in Site Conf
Open /etc/nginx/sites-available/default, and update the server_name and location sections.
Note: You must own the domain before you can add them to server_name.
1 | server { |
3. Reload or restart NginX
1 | service nginx restart |
4. Enable Https
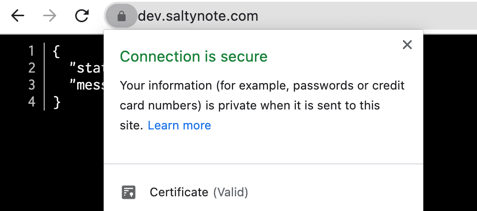
So far, everything seems working now, while the browser still complains Not Secure in the url bar. It is time to
enable https for our service. It is free with Let’s Encrypt.
4.1 Install Certbot
It should be easy to install certbot by following the instruction.
1 | # Since I use nginx, I will run this to enable https |
5. Hide service from port 8888
We enable NginX with https for our service now, and we can hide the original service running in port 8888 from the
public. There are multiple solutions for this. e.g. iptables.
While I find UFW - Uncomplicated Firewall is more user-friendly, so I will
choose it here.
1 | ➜ ~ ufw status |
Note:For enhanced security, you can change default SSH port 22 to other number.
Now you will not be able to access the service with https://dev.saltynote.com.