Finding out what version of OpenGL your graphics card support: GLinfo2.zip
The very first thing you need to do is determine if your video card can support GPU programming. Specifically, you are looking to see if your graphic card supports OpenGL version 4.1 or later.
Download the Executive program
##Behavior of program
*User hits ‘W’ *(Draw your wireframe) at a suitable initial position from the viewer.
*User hits ‘N’ *(Draw next wireframe) Organize the PLY files in a list going from 1-43. Hitting N should load and draw the next wireframe model to the current one in your list of PLY files. You can hardcode filenames if you want. The PLY files may not all be of the same size. So to properly set up the viewing position using LookAt, you may have to calculate the bounding box of the mesh and then set your view distance to a suitable multiple of the bounding box
*User hits ‘P’ *(Draw previous wireframe) Organize the PLY files in a list going from 1-43. Hitting P should load and draw the previous wireframe model to the current one in your list of PLY files.
*User hits ‘X’ *(Translate your wireframe in the +ve X direction) Continously move your wireframe some small units along the +ve X axis and redraw it. Use the idle function to animate this. The ply file should continue to slide along the +ve X axis till the User hits ‘X’ again. Essentially, the ‘X’ key acts as a toggle key. If the ply file is stationary and the User hits the ‘X’ key, the ply file should continue to slide along the +ve X axis until the User hits ‘X’ again. Camera position remains fixed for this translation and all other translations below. The exact amount to move the ply file before redrawing will affect how much and how much your translation is apparent depends on how far you positioned your wireframe from the viewer. So, it’s left to you as a design choice to pick an appropriate distance to translate the wireframe along the +ve X axis each time the User hits ‘X’.
*User hits ‘x’ *(Translate your wireframe in the -ve X direction) Use the idle function to continuously move your wireframe some units along the -ve X axis. The number of units to translate your wireframe each time the User hits ‘x’ is left to you as a design choice.
*User hits ‘Y’ *(Translate your wireframe in the +ve Y direction) Use the idle function to continuously move your wireframe some units along the +ve Y axis. The number of units to translate your wireframe each time the User hits ‘Y’ is left to you as a design choice.
*User hits ‘y’ *(Translate your wireframe in the -ve y direction) Use the idle function to continuously move your wireframe some units along the -ve Y axis. The number of units to translate your wireframe each time the User hits ‘y’ is left to you as a design choice.
*User hits ‘Z’ *(Translate your wireframe in the +ve Z direction) Use the idle function to continuously move your wireframe some units along the +ve Z axis. The number of units to translate your wireframe each time theUser hits ‘Z’ is left to you as a design choice.
*User hits ‘z’ *(Translate your wireframe in the -ve Z direction) Use the idle function to continuously move your wireframe some units along the -ve Z axis. The number of units to translate your wireframe each time the User hits ‘z’ is left to you as a design choice.
User hits ‘R’ (Rotate your wireframe about it’s CURRENT position) Just like in a showroom where the wireframe is on a swivel, rotate your wireframe smoothly 360 degrees at a moderate speed about its CURRENT position (not about the center of the scene) This rotation is NOT the same as moving the wireframe in a wide arc. The rotation should be about the Y axis and the wireframe should not translate while rotating. After each 360 degree rotation of the “current” PLY file, load and display the “next” (of the 43 PLY) files. In this way, after 43 cycles, all polyline files should have been drawn one by one. On the 44th cycle, go back and display the first PLY file that was drawn. Finally, alternate between rotating PLY files clockwise and counter-clockwise. For instance, PLY file 1 should rotate 360 degrees clockwise before loading PLY file 2 which rotates counterclockwise before loading PLY file 3 which rotates clockwise, and so on. Hint: Use double buffering (glutSwapBuffers( )) to make the rotation smooth. You can continously update the new wireframe positions and redisplay the meshes in the glutIdleFunc function.
User hits Key ‘B’: Toggle pulsing meshes ON/OFF. When ON, the mesh faces pulse back and forth continuously as described above. When OFF the meshes do not pulse. Hint: Use double buffering (glutSwapBuffers( )) to make the breathing smooth. You can continously update the new vertex positions and redisplay the meshes in the glutIdleFunc function.
User hits Key ‘m’: Toggle a drawing of each face normal (ON/OFF). When ON, the mesh normals of all mesh faces are drawn. When off, the face normals are not drawn. Each face normal is drawn as a short line starting from the middle of each face and extending outwards. When you draw all normals, it will look like the mesh has pins sticking out of each face
User hits Key ‘e’: Toggle a drawing of the extents (bounding box) of each mesh (ON/OFF). When ON, a bounding box is drawn around the mesh. When off, the bounding box is not drawn. The bounding box is the smallest cuboid that contains each mesh. Since the meshes are all different sizes, they will all have different bounding boxes
##How my program works: 1). When you start it, it will display the first ply file in the screen 2). “N” display next ply file, “P” display previous one. [the previous file of “0” is “42”, and the next one of “42” is “0”] 3). Anytime when you press “W”, it will display the first ply file (reset function) 4). When “X/x”, “Y/y”, “Z/z” events are working, you can stop current moving by pressing any key as “X/x”, “Y/y”, “Z/z” 5). Also, you can stop “B”, “R” by pressing the same key twice (avoiding pressing “B” when “R” is working, even it works in my program, but it does not look so beautiful, vice versa) 6). “e”, and “m” can work any time you press them. no matter what is the current event 7). When “R” is current event, “X/x”, “Y/y”, “Z/z” won’t work 8). [Please do not interrupt the idle event with other one before it stops. Even it can work, the shape of its display may make you not so comfortable =)] 9). If you have any question, you can contact me: [email protected]
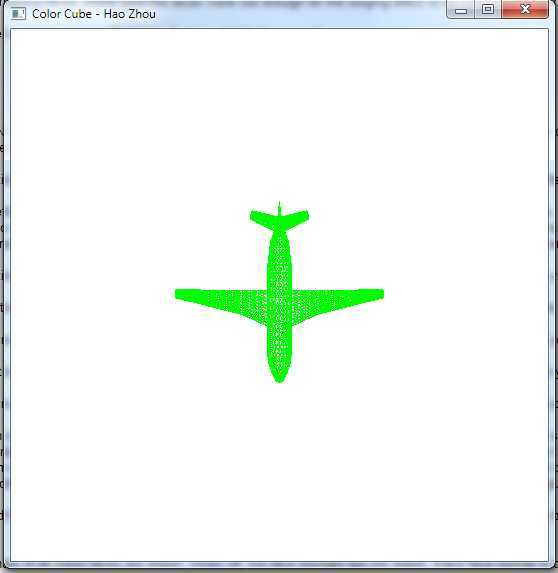
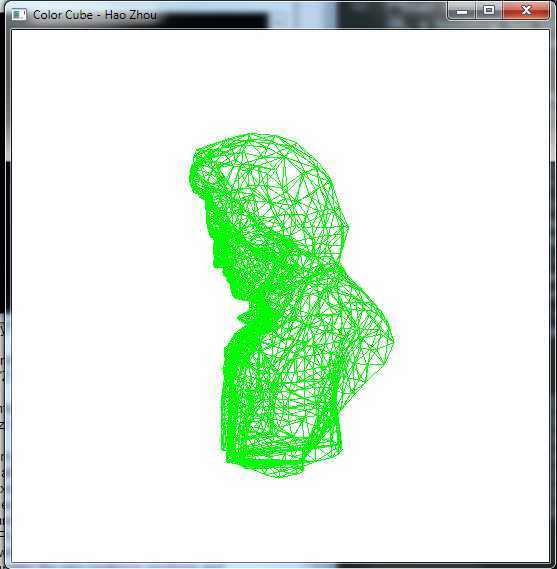
##Screen Shots:


